An easy way to design the conference name tags
This post describes using Microsoft Word and Excel to generate conference name badges quickly. It is motivated by the blog.
Preparation
In the first step, you need to have three files in your hand:
- Background image: Photoshop-designed background
.pngor.jpegimage with all conference information that you would like to include except the attendee's name and affiliation. You can design your own image size, but a preferred size isheight 5.08cm x width 8.89cm. - Attendee list (Excel): a
.xlsxfile with all attendees' details. - Name badges (Word): a
.docxfile with the template of name badges.
Create the template of name badges
Create the.docx file with Layout -> Margins -> Custom Margins and set the margins with the below values:
- Top: 2cm
- Bottom: 2.15cm
- Left: 1.61cm
- Right: 1.61cm
Create 2*5 blank tables:
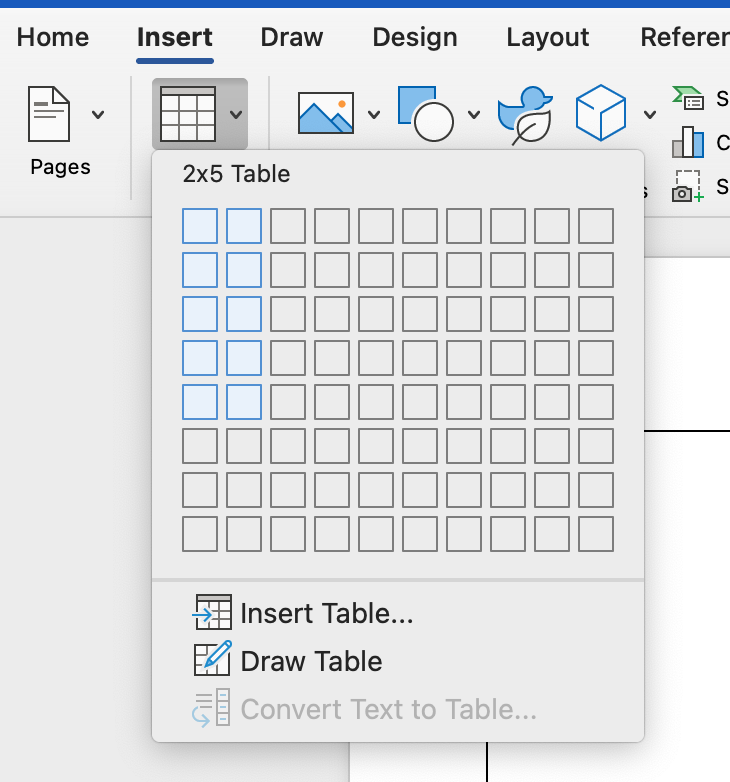
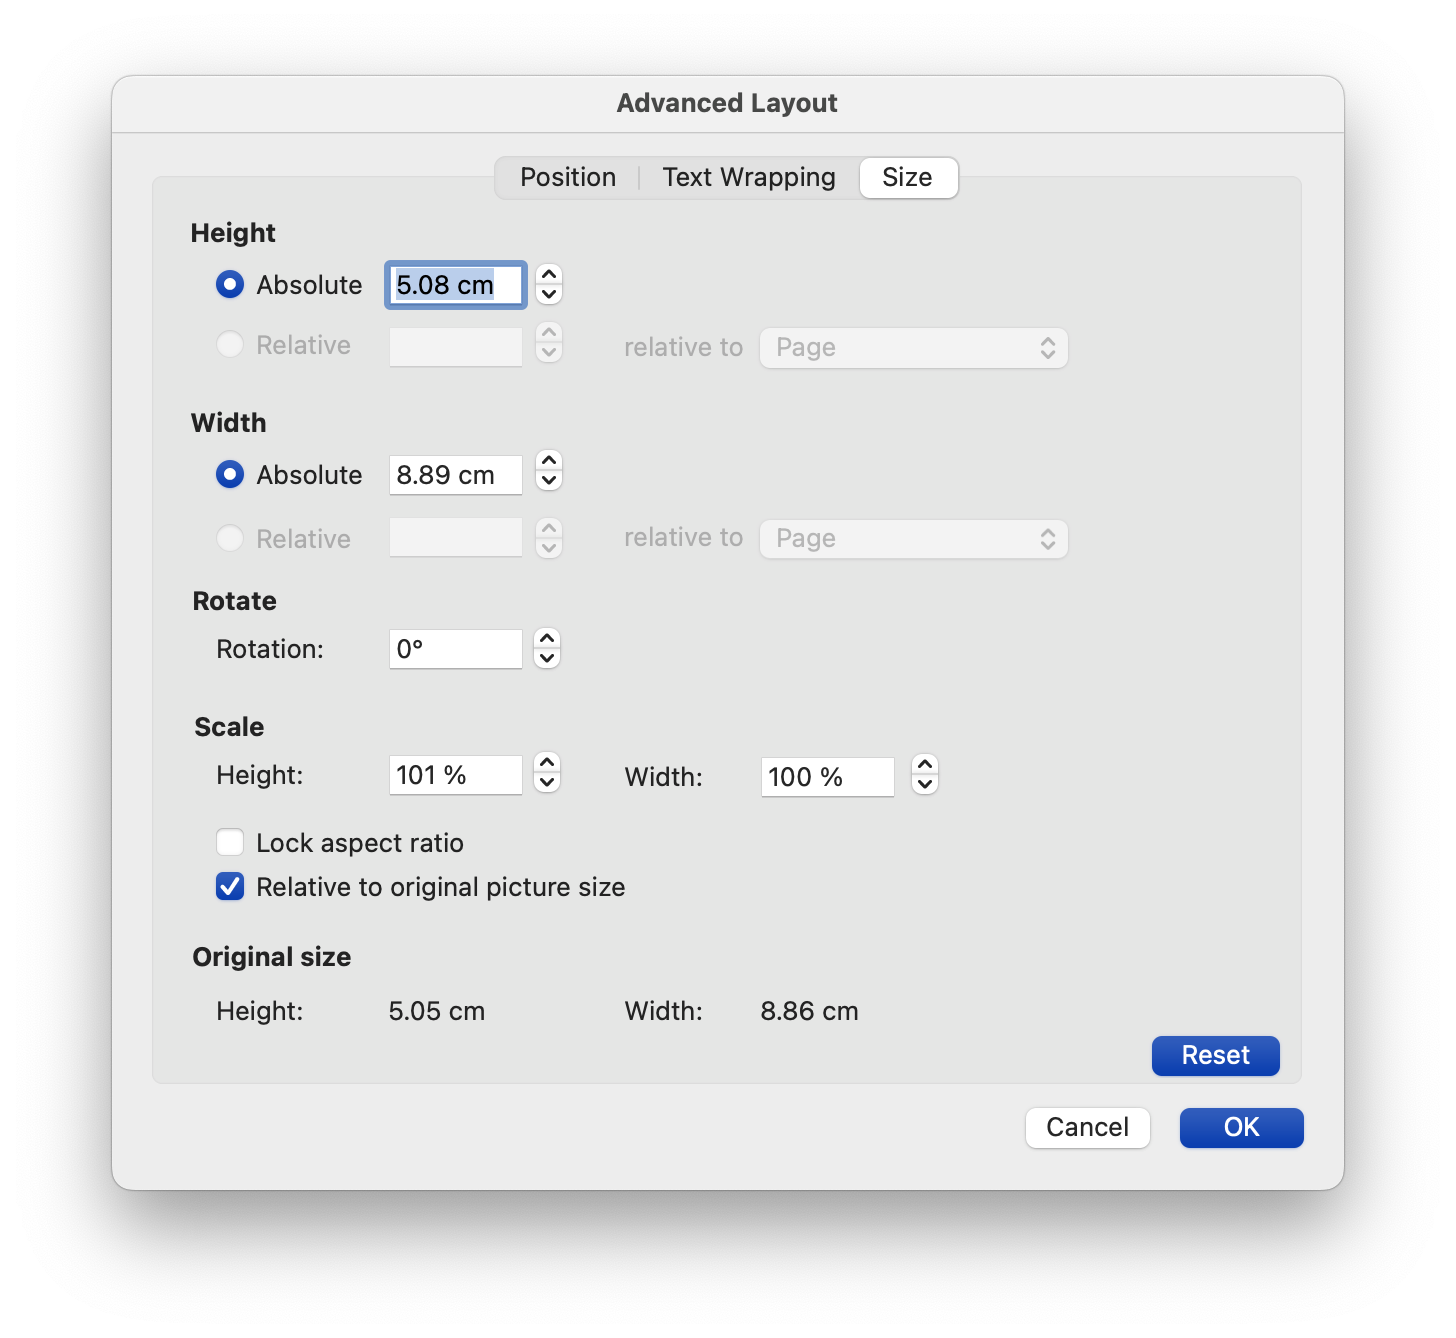
And resize the Layout -> Height and Width to height 5.08cm x width 8.89cm to ensure each page will include ten badges.

Insert the background image into the first cell and set Wrap Text -> Behind Textthe Size and Position of the image as:
Then match the background image with the cell border. Choose suitable font position (Centre Text with 1.5 Line Spacing) and font size for name and affiliation.
Create the name badges
-
Select
Mailings -> Select Recipients -> Use an existing listand select theAttendee listin a specific directory. -
Insert Merge Fieldand set the<<Name>>. In the second line, select the<<Affiliation>>filed. -
Copy all content in the first cell, including the background image and paste it into the second cell.
-
In the second cell, add rules to let the Word generate the second attendee name badge with
Mailings -> Rules -> Next Record, and it will be like:<<Next Record>><<Name>>
<<Affiliation>> -
Copy the second cell for all the rest cells.
-
Preview and
Mailings -> Finish & Merge -> Edit Individual Document.